Kling AI Tutorial: Turn a World Render Into a Trailer
Summary
This kling ai tutorial shows AuxWorld creators how to turn a single world render into a fifteen-second trailer using Kling AI image-to-video. It covers the anchor-image prompt formula (motion only, never scene), camera vocabulary like dolly-in and tracking shots, and how to chain six labeled shots into one generation. Includes exact copy-paste prompts and where Kling fits in a real editing pipeline.
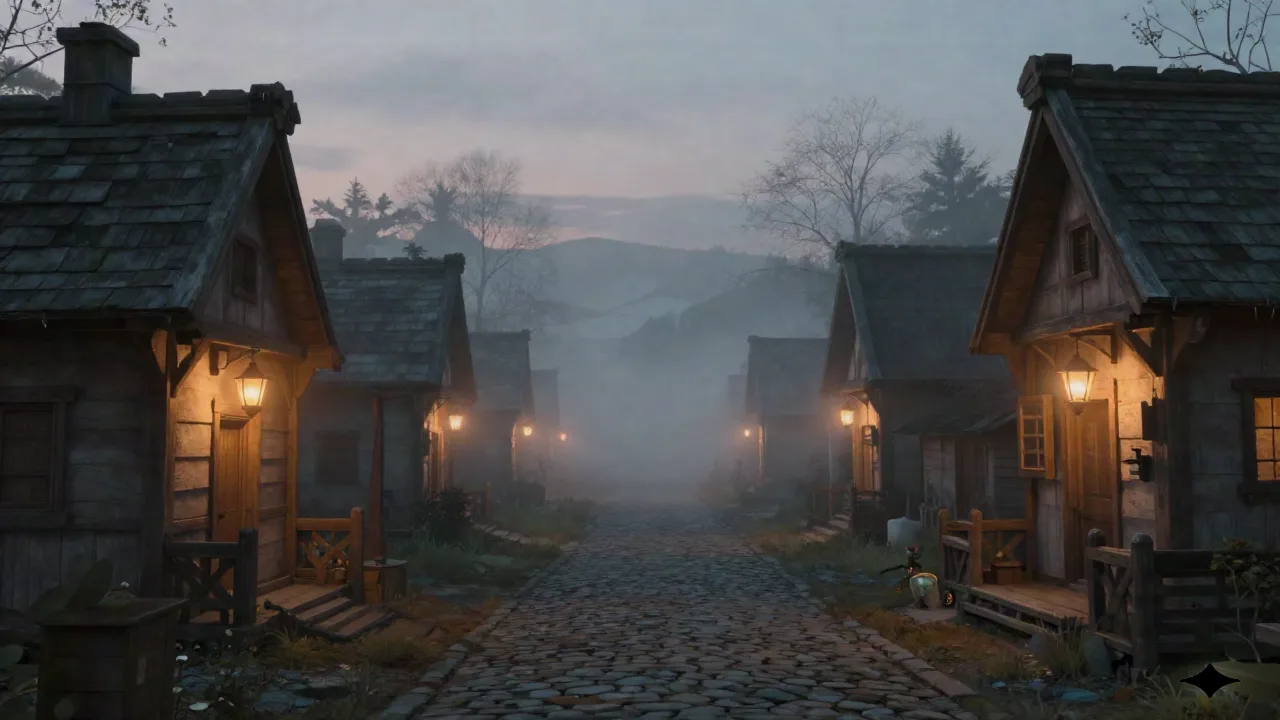
Export a render from your world. Open Kling AI's image-to-video mode. Describe the camera, not the scene. That's the whole kling ai tutorial, compressed to one move: Kling already sees what you built, so wasting words re-describing it is the biggest reason first clips come out flat. This piece walks through the exact prompt structure, the shot count that turns a render into a trailer, and where Kling stops being the right tool for your pipeline.
What Kling AI Actually Does With a World Render
Kling AI is a video model built by Kuaishou, and its image-to-video mode is the part that matters here. You upload a still, in this case a render pulled straight from a world you generated, and Kling treats it as a locked first frame. Everything you type after that describes what happens next, not what's already on screen.
Kling 3.0 pushes this further than earlier versions. A single generation can hold up to fifteen seconds of footage, and the model now supports storyboards of up to six shots inside one output, each one labeled with its own framing and motion, according to Kling 3.0's technical prompting breakdown. That's enough for a real trailer beat: an establishing shot, a push toward a detail, a reaction, a pull-out.
None of this builds a world. It generates footage of a world that already exists in your prompt history. Worth saying plainly, since AuxWorld doesn't ship a native Kling integration as of this writing: this is a manual export-and-upload step, not a one-click button inside the app. If that changes, we'll say so here.
Cost is part of the decision too, and indie budgets are usually tighter than the marketing pages assume. Kling's free tier gives you real daily credits, enough to test the workflow on a handful of renders before anything shows up on a card. Paid tiers start under $15 a month, which is closer to a coffee subscription than a studio line item. That matters more here than in most gear reviews: you're testing a pipeline, not committing to it.
The Anchor-Image Mistake Almost Everyone Makes
Beginners open image-to-video mode and write like it's text-to-video: a full paragraph describing the character, the lighting, the mood, the architecture. Kling can already see all of that. Every word spent restating it is a word not spent on the one thing the model actually needs from you: motion.
Recommended prompt length for Kling's image-to-video mode sits around 15 to 40 words, focused only on movement, according to Kling's own prompting guide. Compare that to text-to-video prompts, which routinely run 60 to 100 words because they have to build the scene from nothing.
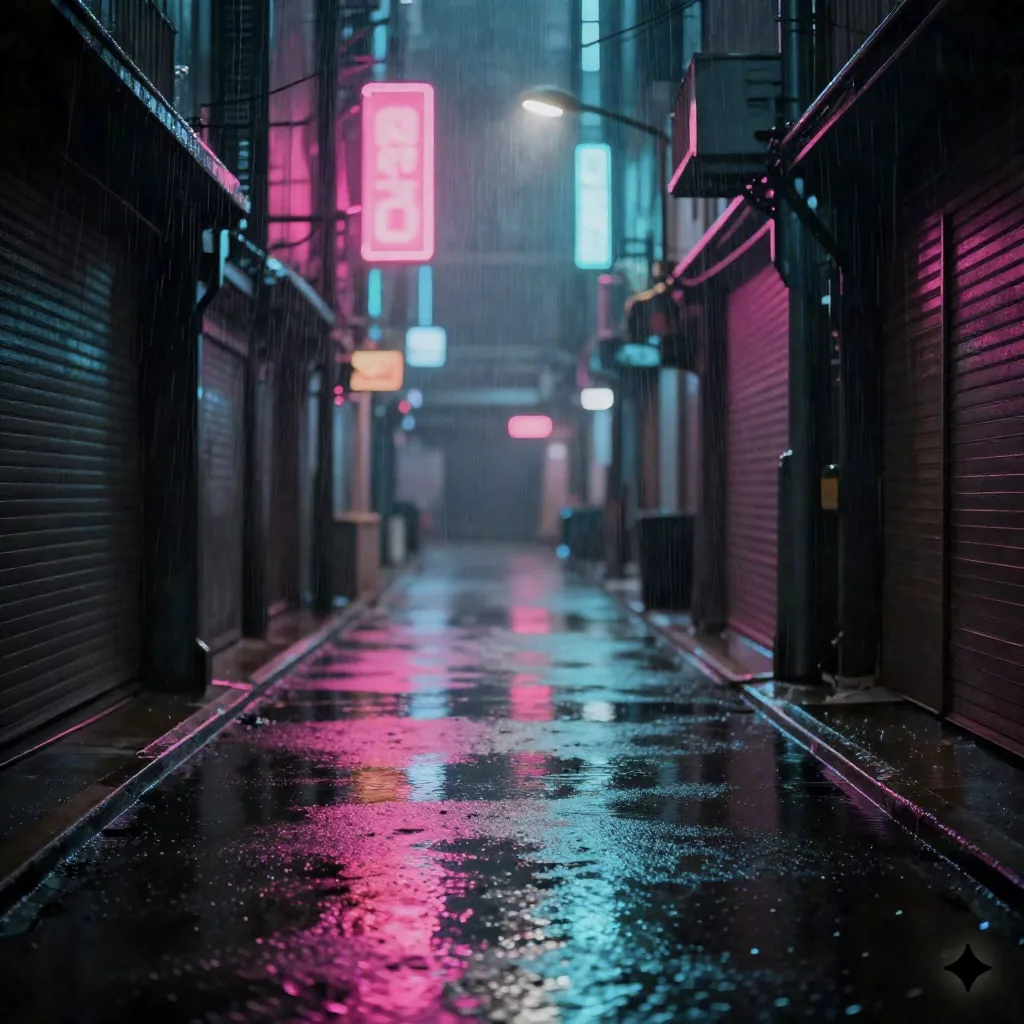
Skip the temptation to over-describe. If your render already shows a rain-lit alley, your prompt does not need "a rain-lit alley" in it. It needs what the camera does next.
Building Your First Prompt
The formula that holds up across most world renders is short: subject movement, camera movement, pace. Nothing about setting. Nothing about wardrobe, unless something in frame is supposed to move on its own.
Here's a prompt built for a render of a foggy village street, lantern light, empty of characters:
Camera pushes slowly forward down the street, fog drifting past the lanterns, lantern light flickering gently, slow dolly-in, 6 secondsThat's it. No restating "foggy village," no restating "lanterns." Kling has the image. The prompt gives it the one variable it's missing: what moves, and how the camera relates to it.
If your world has a moving element, name it and its speed, then hand the camera its own instruction:
A hooded figure walks away from camera toward the fog, unhurried pace, camera holds static in a wide shot, ambient wind soundTwo clauses. Subject motion, camera behavior. Everything else is already baked into the still you uploaded.
One more, for a render with a light source that should feel alive rather than static:
Lantern flame flickers and casts moving shadows across the wall, camera slowly tilts up from the flame to the rooftops, 5 secondsGeneration takes a few minutes, not an afternoon. That changes how you should work: treat the first pass as a rough cut, not a final. If the dolly-in reads as a zoom instead of a physical push, tighten the prompt to "camera moves closer" instead of "camera dollies," and run it again. Two or three iterations per shot is normal, not a sign you did something wrong.
Camera Language That Actually Moves the Shot
Vague direction produces a static shot dressed up as a video. "Cinematic movement" means nothing to the model. "Slow dolly-in" means something specific, and Kling responds to it accordingly.
A working vocabulary, worth keeping next to your prompt box:
Dolly-in / push-in: camera moves physically closer to the subject
Dolly-out / pull-out: camera moves away, revealing scale
Tracking shot: camera moves alongside a moving subject, holding distance
Aerial / overhead: camera looks down from above, good for establishing scale in a generated landscape
Static / locked: camera does not move at all, letting only the subject move
Pick one camera instruction per shot. Stacking two ("dolly-in while also panning left while also tilting up") is the fastest way to get a warped, morphing result instead of a clean move. One camera decision, one subject decision. That's the whole discipline.
Duration matters as much as the words themselves. A 5 to 6 second clip holds up better than a full 15-second generation when you're still learning what a given camera term produces on your renders specifically. Save the longer, full-duration generations for shots you've already validated at a shorter length. It's cheaper to be wrong for six seconds than for fifteen.
Six Shots, Fifteen Seconds: Building a Trailer, Not a Clip
A single fifteen-second Kling 3.0 generation, chained into a labeled storyboard, can carry a real trailer arc instead of one aimless pan. Something like:
SHOT 1: Wide establishing shot, camera static, fog settling over rooftops
SHOT 2: Push-in toward a lit window, slow dolly, 3 seconds
SHOT 3: Cut to street level, tracking shot following a figure from behind
SHOT 4: Static close-up on a hand touching a stone gate, ambient sound only
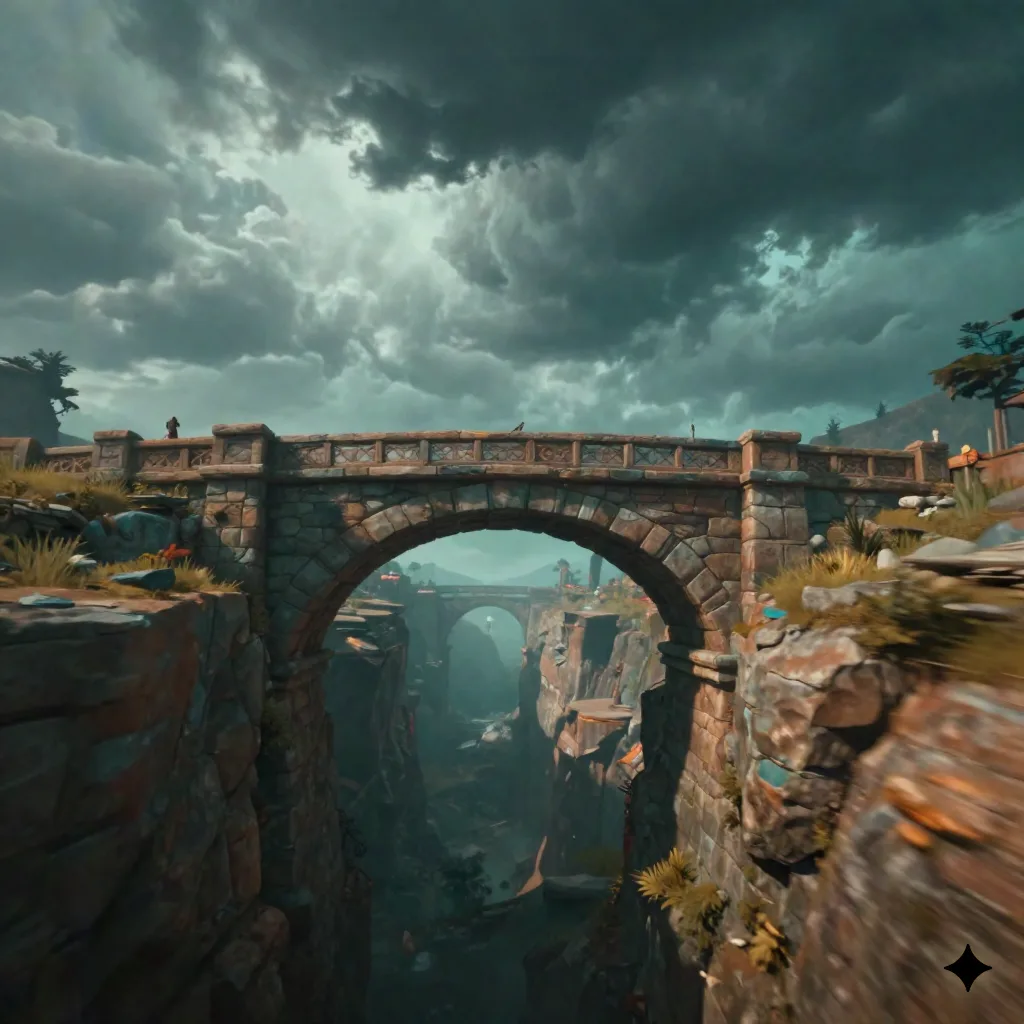
SHOT 5: Pull-out revealing the full village from a hillside, aerial angle
SHOT 6: Hold on the wide shot, slight zoom, fade
Each line is a camera decision plus a subject decision, nothing more. The render supplies everything else: the architecture, the palette, the mood you already generated.
This is the structural difference between a screenshot with motion added and an actual trailer. One shot says "this world exists." Six shots, sequenced, say "this world has a rhythm you'd want to spend time in."
Where This Fits in Your Actual Pipeline
Kling AI is one stage, not the whole chain. The realistic pipeline looks like: generate your world, screenshot or render the frame you want, run it through Kling's image-to-video mode shot by shot, then move the raw clips somewhere to stitch and trim.
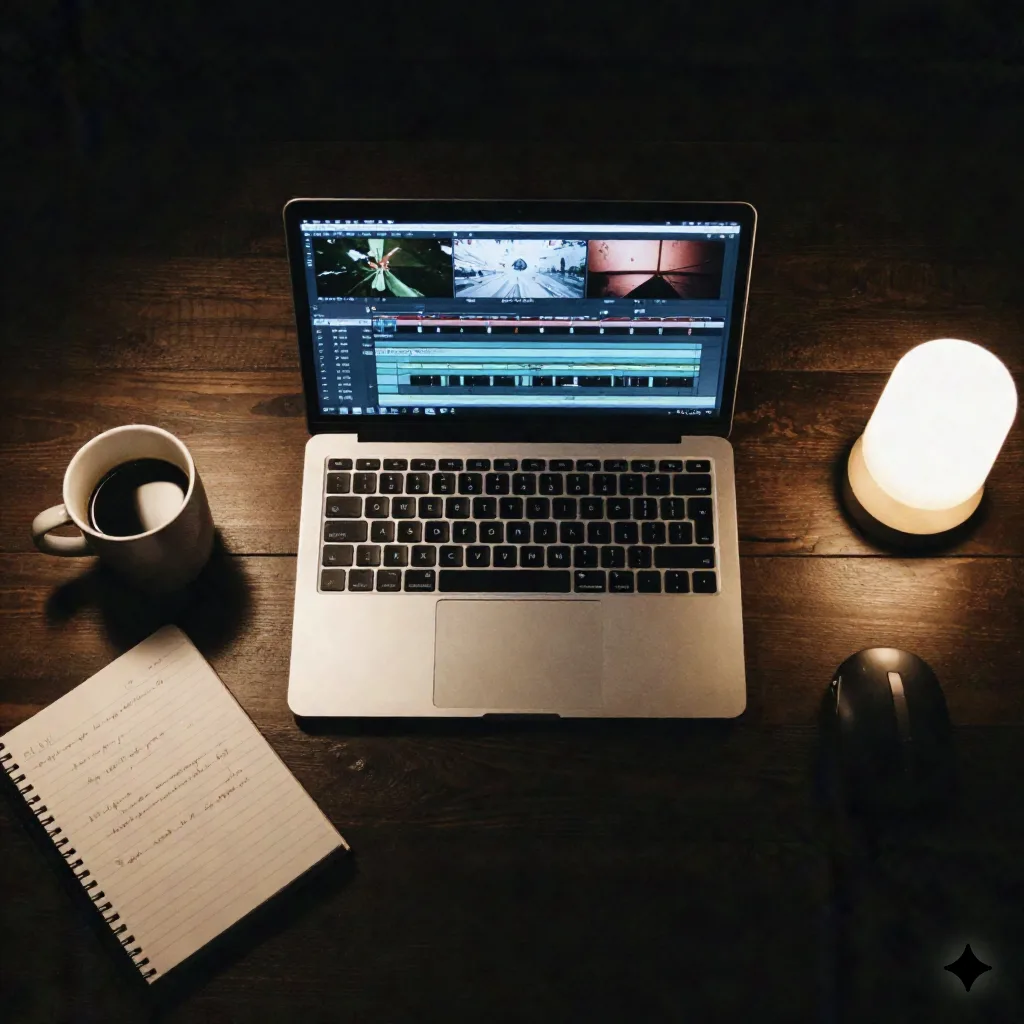
CapCut handles that last step without asking you to learn a timeline editor built for feature films. Drop the Kling exports in, trim to the beats, export at whatever aspect ratio the platform wants.
If your trailer needs a voice over the footage, rather than the ambient ideas Kling's native audio can generate on its own, a dedicated voice tool gives you more control over pacing and delivery than trying to coax dialogue out of the video model itself.
When Kling Isn't the Tool You Need
Kling is not the only door into this workflow, and it is not always the right one. If you already pay for a platform that bundles multiple video models under one subscription, including Kling access alongside alternatives, running everything through a single dashboard beats juggling separate accounts and separate credit systems.
Skip Kling specifically if your priority is dialogue-heavy NPC scenes with tight lip sync. That's a narrower use case than trailer footage, and other models in the current field are built closer to that specific problem.
Skip it too if you're chasing a single hero shot rather than a sequence. A locked fifteen-second, six-shot generation is overkill for one still that needed motion added. Use text-to-video sparingly, and only for the one beat that actually needs it.
And weigh the math honestly before you commit to a monthly plan. If you're posting one trailer every few weeks, the free daily credits probably cover it without a subscription at all. Pay for Pro when you're iterating shots often enough that waiting for the daily reset actually slows you down, not before.
What We'd Actually Generate Tonight
Pick one render. The one you already like, sitting in a folder somewhere. Open image-to-video. Write the two clauses: what moves, how the camera relates to it. Six seconds is enough to know if the prompt worked.
Fork it if it didn't. Change the camera instruction. Try the push-in instead of the pull-out. The world is already running. You just have to describe how the camera walks through it tonight.